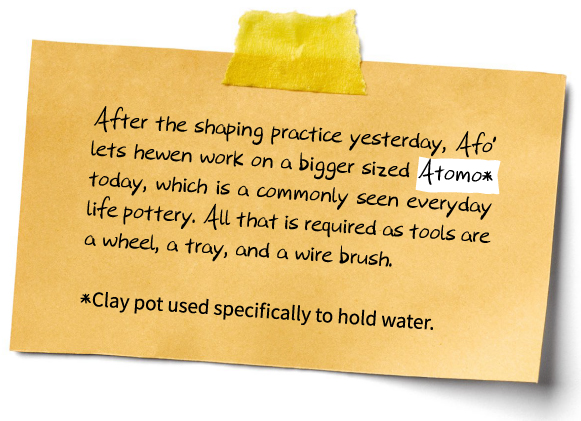
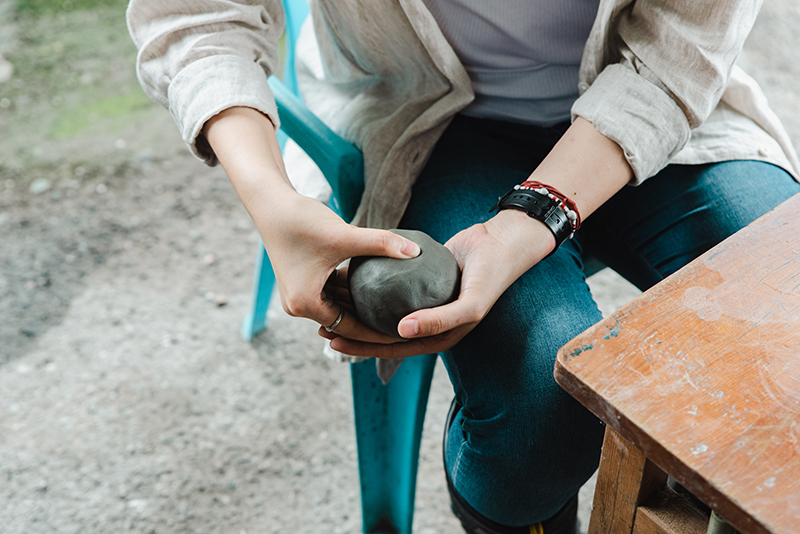
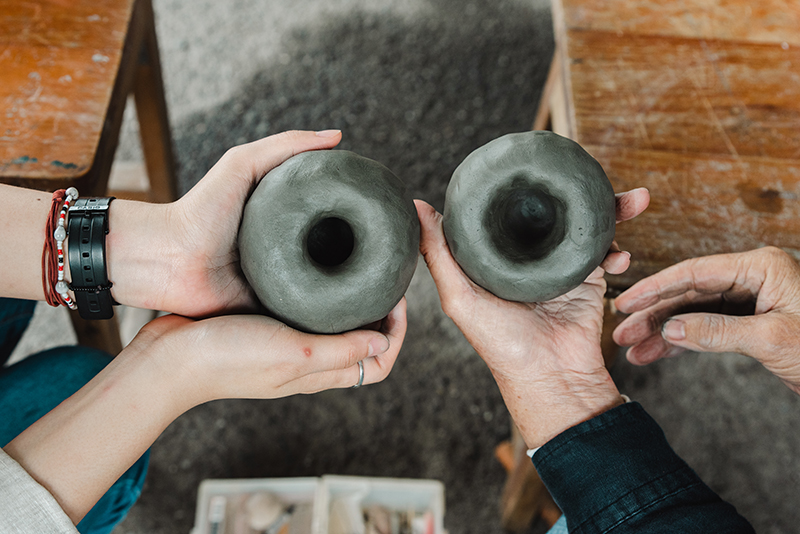
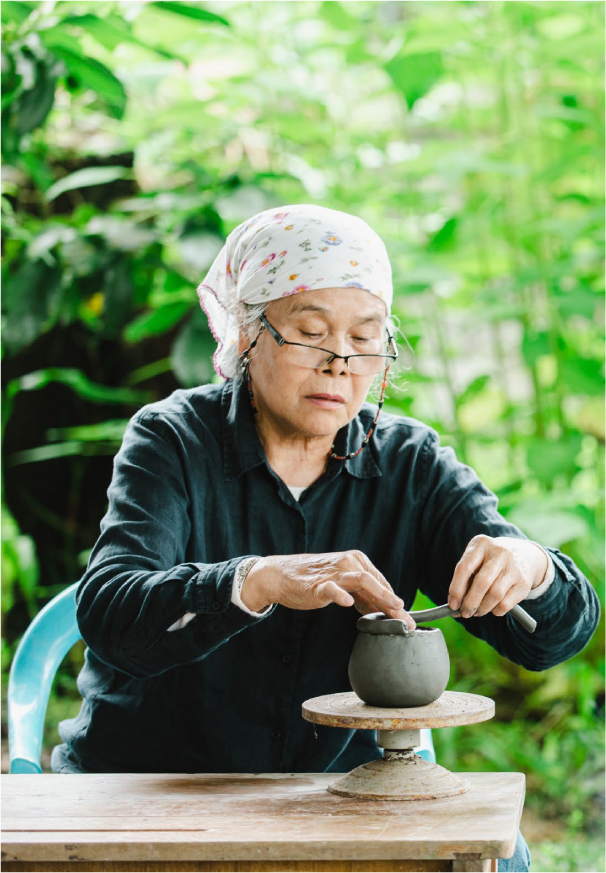
Take an appropriate amount of clay, and toss the clay ball up and down to force out the air. Next, we begin shaping the clay. The clay ball is placed on the wheel, the right thumb pressed into the center of the clay ball with four other right fingers supporting the exterior, while the left hand slowly turns the wheel. This action aims to create a dent in the middle of the clay ball, forming the clay body.
Check your nails beforehand, or the long nails will leave marks on the body.
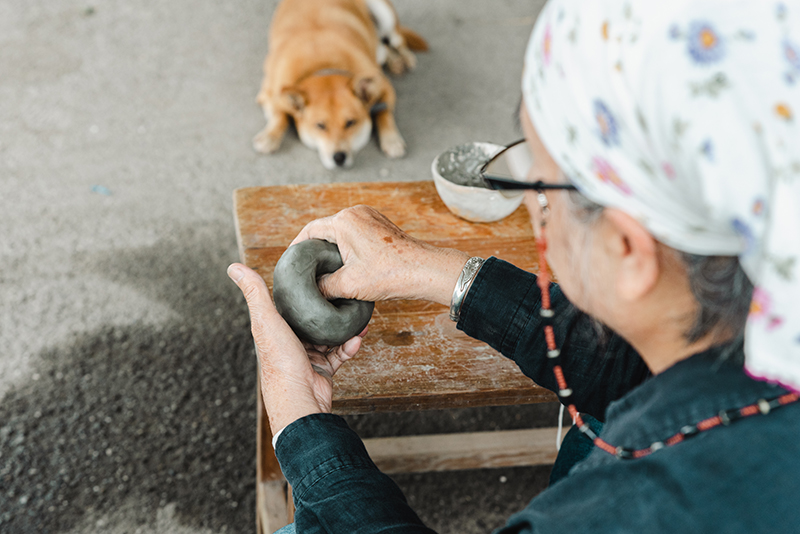
Now comes the key part of throwing, using the fingers to shape the wall in equal thickness. The width of the bottom opening is shaped first, followed by the wall. What makes this action difficult is that you can only feel the thickness with your fingers and eyes, you cannot measure it with tools. If there is a difference in the thickness, the thicker area will dry slower and can easily crack after firing. To prevent unequal thickness, what Afo’ does is when she has shaped the clay to an extent, she places the clay body on the tray to sit for a while.
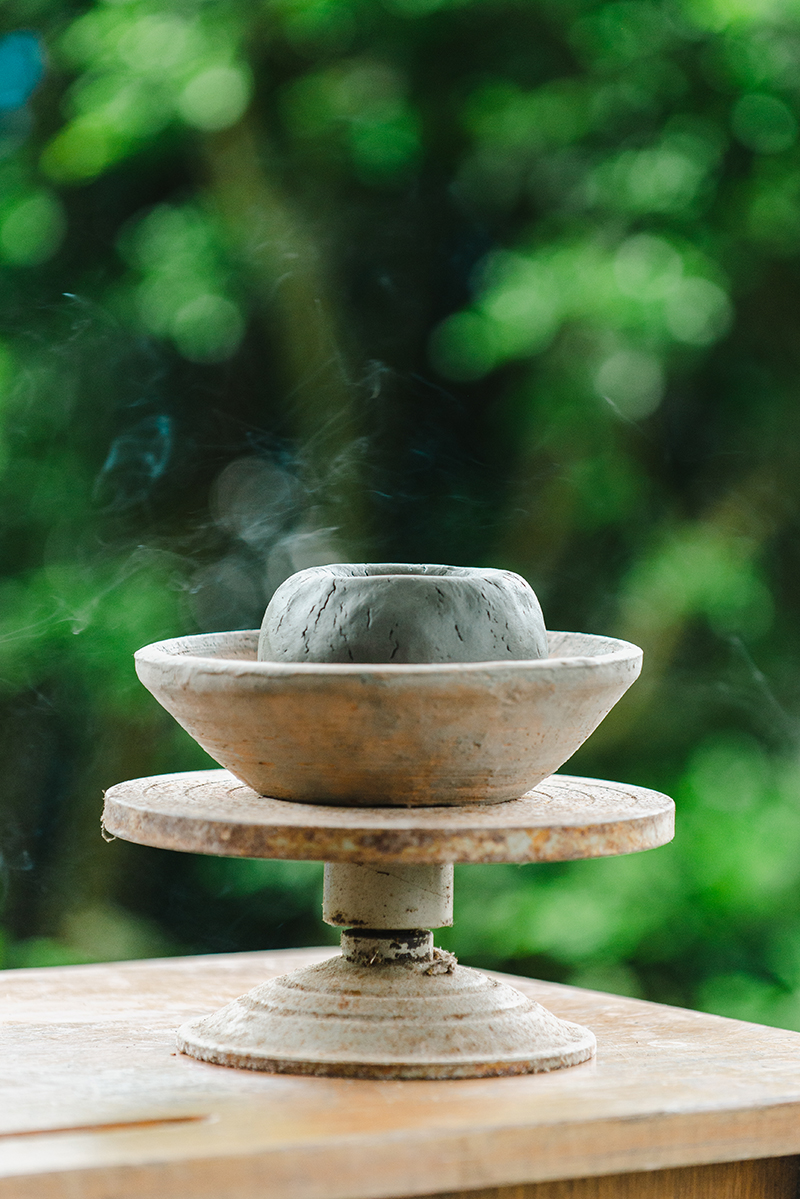
Afo’ says this is called “resting”. In the old days before iron trays, they are turned on banana leaves.
The tray used by Afo’ is a ceramic tray made with soil from Tafalong, which can absorb water. The clay body will sit there for a while, allowing the tray to absorb the moisture from the body and wait for the shape to finalize, then she observes where the thickness may be unequal. This process can be repeated several times.
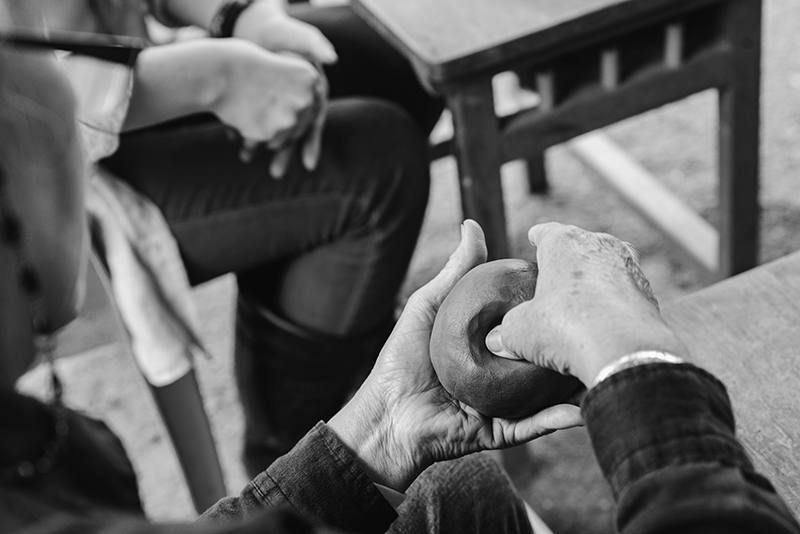
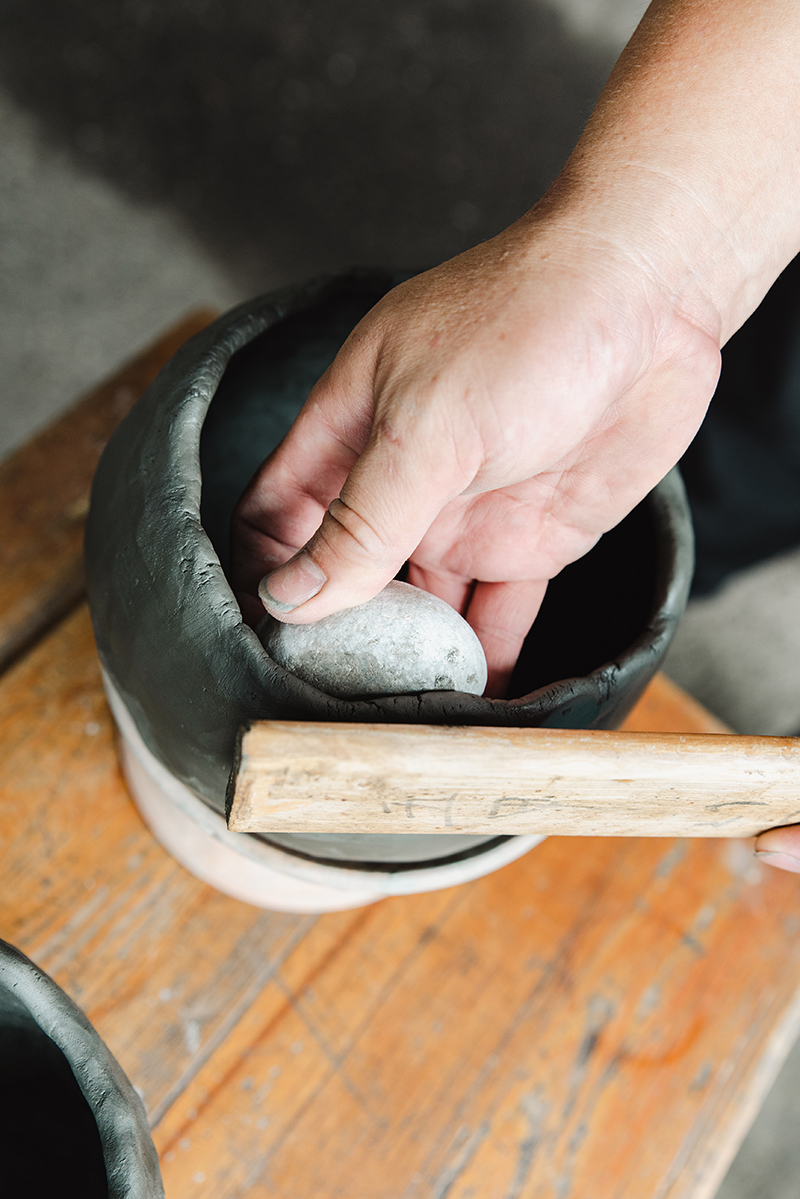
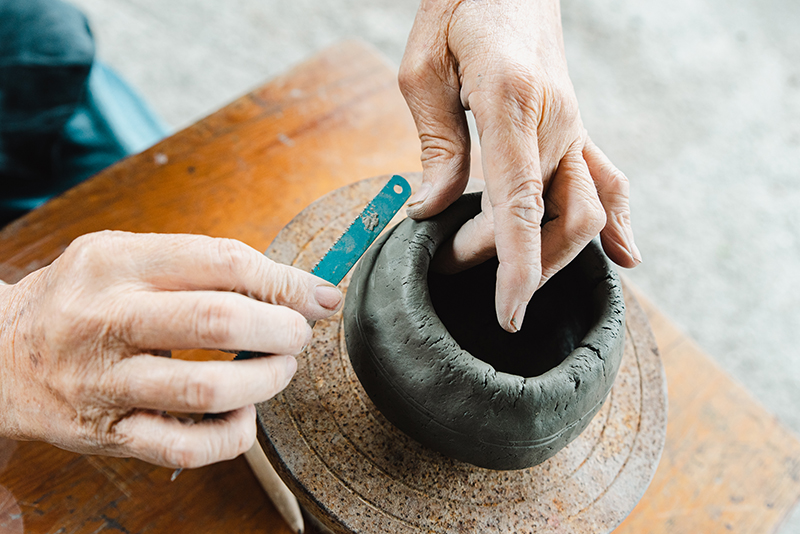
Confirm the clay wall is of consistent thickness, then the left hand is pressed against the inside of the pot while the right taps the exterior wall with a wooden slab, firming up the pottery with the tapping (or you can hold a stone against the inside of the pot for support). The final trimming comes in two parts, the first is dipping the finger pulp in slurry and smoothing out all the crinkles. The second is brushing the cylindrical opening with a wire brush, adding on a layer of clay strip, then tapping repeatedly with the wooden slab to finalize the shape.

Another way of shaping is the coil method. First shape the base, then add the coil layer by layer. This method allows for the pottery to go higher with more variations in curvature.
Once the shaping is complete, utensils such as a wooden pen, scraper, or wooden knife are used to carve the intended pattern. The commonly seen patterns include mother’s love, the universe, waves, harmony, feather, and the sun. To draw a continuous straight line, you can keep one hand on the wooden pen that is drawing the line, and the other turns the wheel.
Once the carving is done, we wait for the pottery to dry to a certain level before sending it off to the kiln for firing. “If the pottery feels cold to the touch, it means it hasn’t dried out yet,” Foday touches the pottery to his face while saying, “you can feel whether the pottery is dry or wet, just like you can feel whether the pillow under the sun is dry enough to put away.” If the moisture content is too high in the pottery, it will crack and burst during firing.

A Duel Between High Temperature and Clay
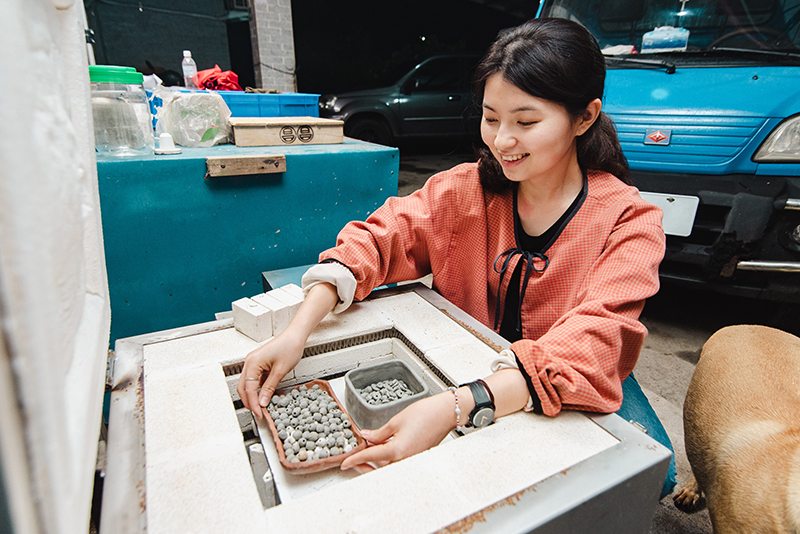
The studio fires the pottery in an electric kiln. Once the pieces are in place, they start adjusting the temperature. Foday sets the electric kiln to reach 100 degrees in the first hour so that excess moisture can evaporate, then reach a maximum of 1,050 degrees in the next 9 hours, a temperature he believes will give the pottery the best coloring. Once the maximum temperature is reached, the electric kiln needs to sit for 48 hours for the temperature to cool before the kiln can be opened.
There is no fixed temperature setting to the electric kiln, the weather that day and the desired coloration determine the minor adjustments. Generally speaking, firing on a rainy day leads to a glossier color, while the higher the firing temperature, the darker the pottery color.
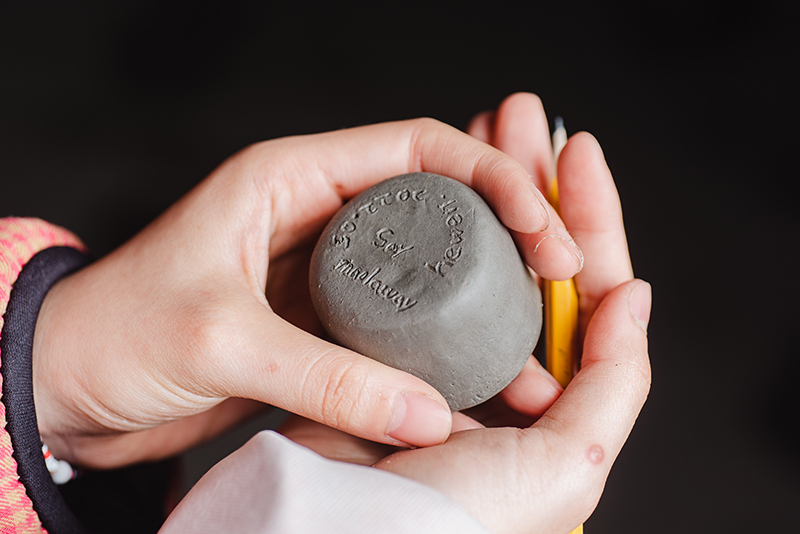
hewen carving her name on the bottom of the clay cup she made.
Traditionally, pottery firing is done via smoldering in a grass pile. Prior to firing, we pray to the spirits of the sky, earth, mountain, and ancestors, just as we did for the soil collection, and pray that the firing goes well. After praying, we set up the firing site. In the past, it is generally a blank space next to the field. First, you dig a pit, then you lay down layer by layer rice straw, rice hull, and pottery pieces, and on top, you lay down rice hull, Arrow Bamboo, rice straw, and timber, then start the smoldering for three days and two nights with the fire tended to at all times. With ash created throughout the firing process, it lands on the pottery leaving black smoked traces.
Related articles